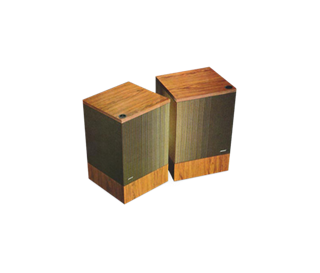
I recently decided it was time to convert my old Bose 501 Direct/Reflecting speakers to a network streaming, self-powered setup. One of the great things about living in today's world is that we have the technology to upcycle our old goods and integrate them into our modern lives.
The Bose 501 was a line of speakers produced in various types between 1971 and 2001. The 501 Series V, produced from 1994 to 2001, was a radical departure from the previous models. It seems to share not much more than its name with the earlier series. You can check back here for a review of the 501 Series III shortly.
Setting the Requirements
So the first question to ask is what do we want to do with the speakers? I have a short but specific list of requirements.
- First, I don't want to put an amplifier in my living room. The only thing I find more unappealing than a bunch of stereo components cluttering up a bookshelf is a giant television. I will have neither.
- I need to be able to stream my music from my home network. See point one. I'm not willing to put an amp on my bookshelf so I'm also unlikely to put a computer there.
- I need to be able to stream music from TIDAL. I recently switched from Spotify to TIDAL and want to be able to use TIDAL connect.
- Finally, the system must be capable of playing HD Audio. CD-quality as a minimum, 192 kHz / 24-bit preferred.
So going by our requirements, we need a device with solid networking, a high-quality DAC and an integrated amplifier large enough to drive the 501s. One of the nice things about wanting HD Audio is that Bluetooth is not a requirement. Bluetooth is awful for anything beyond making phone calls while driving your car, and I wish the audio world would just stop pushing this crap on us.
Choosing the Components
After a review of the requirements, I concluded that I would need a DAC, an amplifier, a computer, and some software to tie it all together.
The Raspberry Pi 3 A+
For me, the choice of computer was pretty easy. It was always going to be a Raspberry Pi, as to which model, that was also a simple choice. The conventional wisdom is to buy the fastest, highest spec'd Pi you can afford. However, the Pi 4 boards, while powerful, get hot! I can tell you absolutely that the number one contributor to internally generated noise is heat. Further, I planned to install the Pi inside the speaker enclosure, so airflow would be reduced.
The Raspberry Pi 3 B+ was the obvious solution. Speed-wise, its 1.4 GHz Quad-core vs. the Pi 4's 1.5 GHz Quad-core processor doesn't make much of a difference. Either of these devices has more than enough processing power for my use. The Pi basically will control playback and provide the connection to the audio server. The DAC will be doing most of the work. Memory wise the 3 B+ is limited to 1 GB of RAM, while the Pi 4 is available with up to 8 GB. Now since I have no plans to cache the entire Pink Floyd catalogue into memory, 1 GB is more than enough.
The biggest issue with the 3 B+ is its USB/ethernet setup. The ethernet port on the 3 B+ is essentially a USB dongle on a USB 2.0 port. So it means your ethernet is maxed out at 300 MBps, and any attached USB drives are competing for bandwidth. Not an issue for me, as I won't be connecting a hard drive or wired networking. If you want to use the device as a server for other systems you'd be better off with the Pi 4.
But wait! Who's that little guy over there? The Raspberry Pi 3 A+, has the same processor as the 3 B+ with 512 MB of RAM and less I/O in a smaller package. That's the one for me.
HiFiBerry Amp2
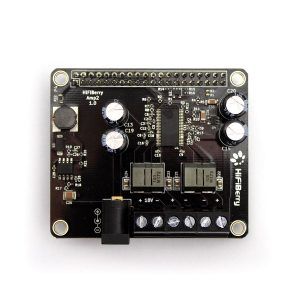
Fortunately for me, HiFiBerry had produced a DAC with an integrated amplifier (or as they see it, an amplifier with an integrated DAC), the Amp2. HiFiBerry produces four such beasts, as well as an add-on amplifier for their DAC HaTs.
The Amp2 uses a 192kHz/24bit high-quality Burr-Brown DAC and has 2 x 30 W speaker outputs. The Amp2 will take a power supply from 12-24V depending on your speaker requirements and also provides power to the Pi itself. It also has the same form factor as the Pi 3 A+ (nobody likes a HaT that doesn't fit). The 30 Wpc is perfect for the 501s. Unlike today's speakers, which can vary from super-efficient to "feed it everything you've got", higher-end speakers from the 70s tended to be quite efficient owing to the technological limitations of amplifiers at the time.
HiFiBerry offers other options if you need more or less power or greater control over your sound. The Beocreate 4 was designed to do exactly what I'm doing to these speakers but using the Bang & Olufsen Beovox CX100/CX50 (it will work with other speakers as well). It also includes a DSP giving you the ability to do all sorts of sound-shaping magic, limited only by your knowledge and abilities.
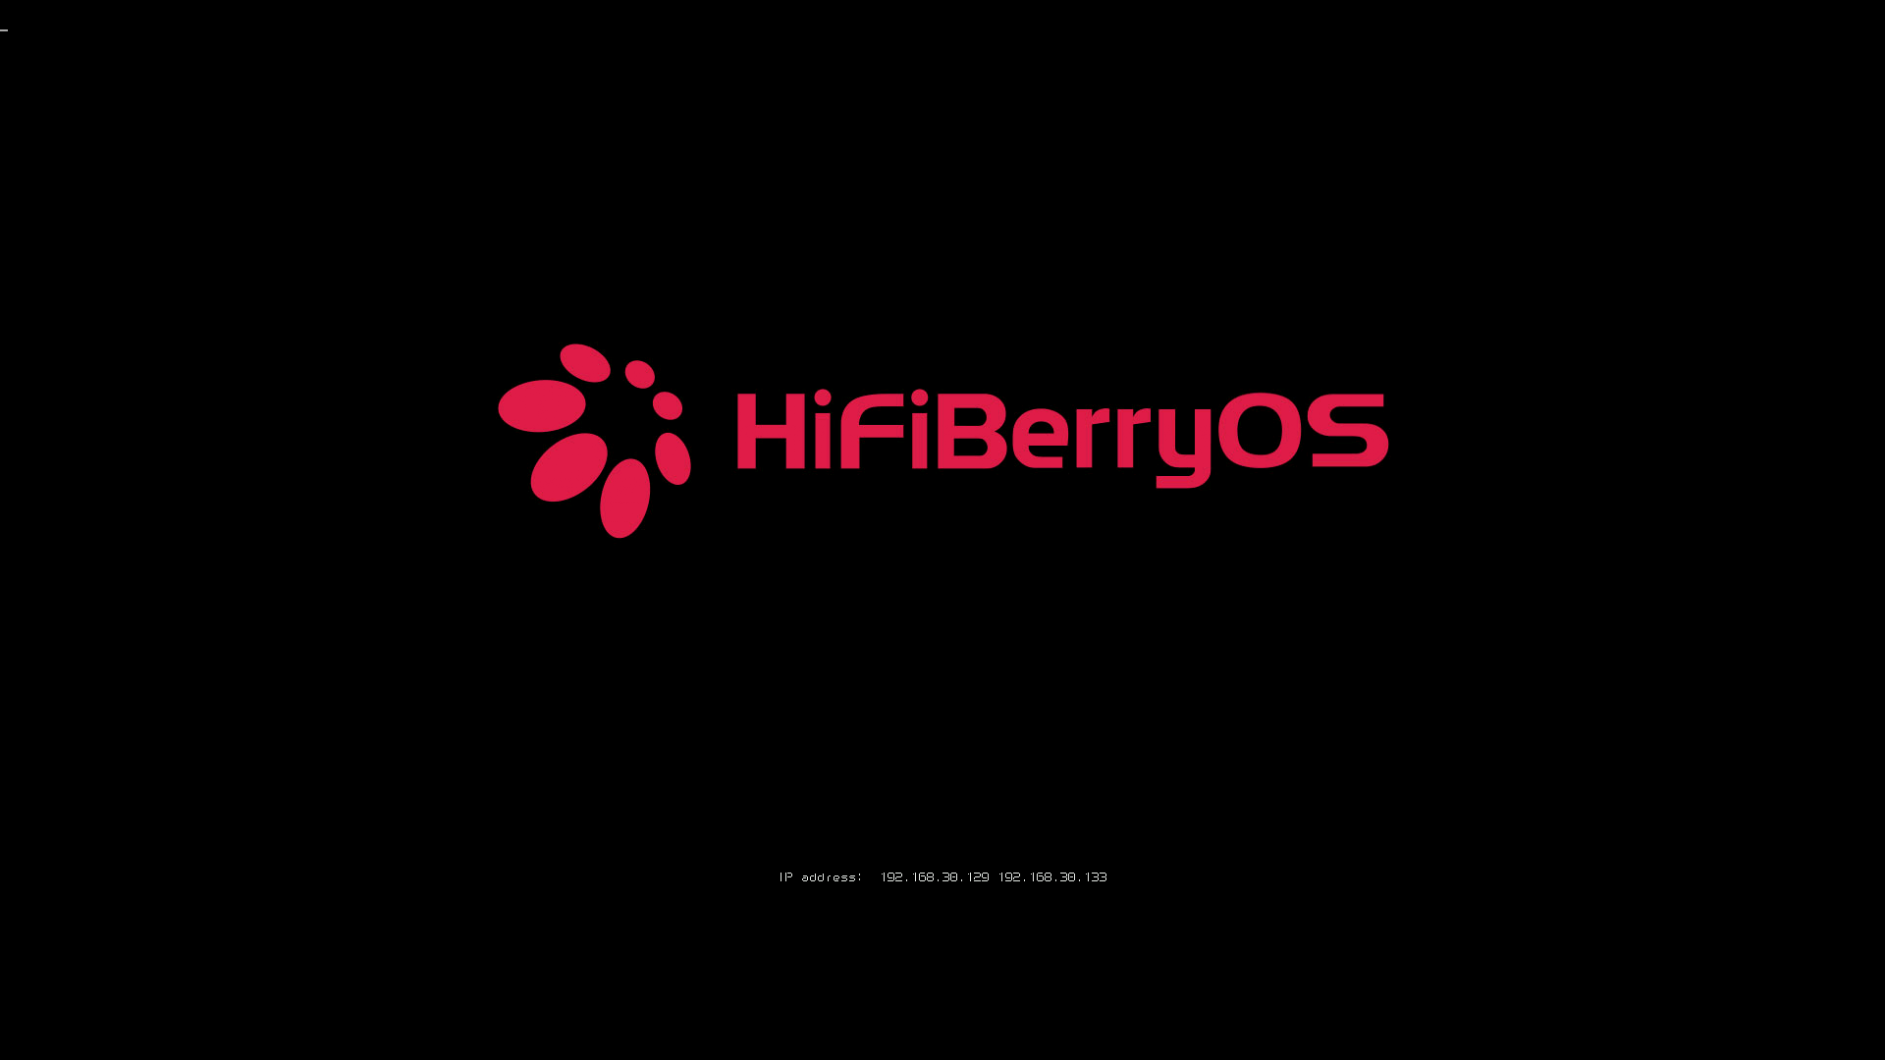
HiFiBerryOS
Once again I'm going against conventional wisdom. Most of the recommendations you will find point you toward Volumio. I had used Volumio in the past and did like the way that it worked. Unfortunately, in order to use TIDAL connect you need to subscribe to their paid service. While I'm all about supporting developers I cannot justify spending $100 a year just to be able to use TIDAL connect. The rest of the features in the Premium account just don't justify the cost. Also, I'm not a fan of the subscription business model. I'd much prefer to buy a working piece of software and then just leave it alone.
The next option was one I don't expect a lot of you had heard of, Balena Sound. This is a great OS made by the same people that make Etcher. It works really well, costs nothing, and is the only RPi based software that I've ever managed to play synchronized multi-room audio (and yes, that includes Volumio). Balena Sound is not aimed at the casual user. The installation is fairly straight forward but its cloud-based management is confusing at the best of times. It is also a container-based OS, so the boot times on the 3 A+ were pretty slow. The boot times on a Pi Zero W were absolutely glacial.
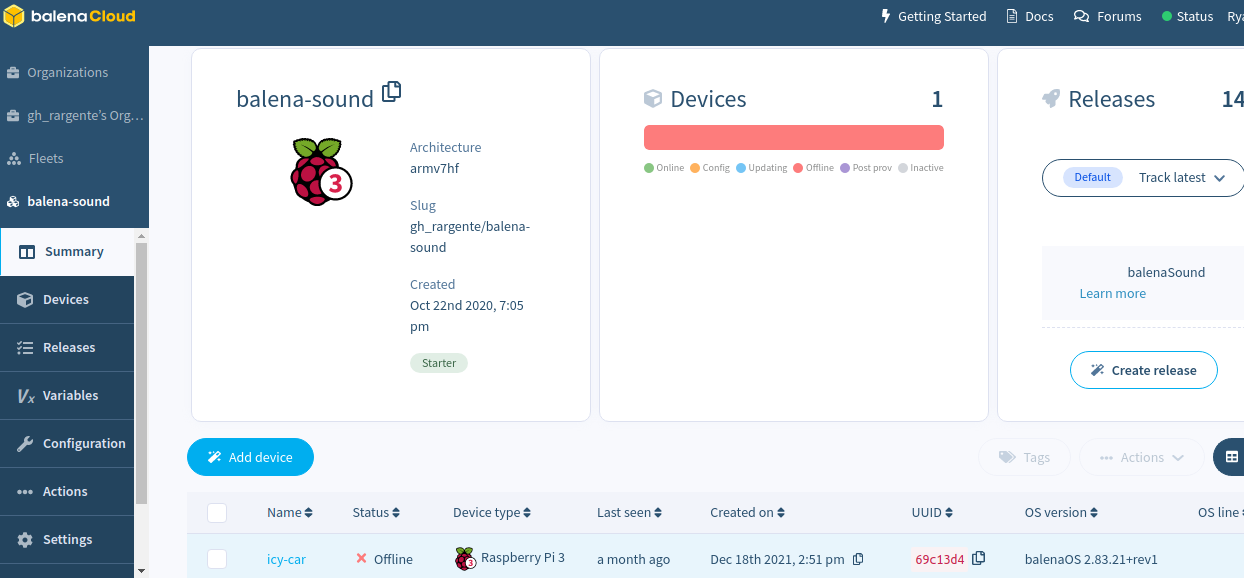
The Balena developers are still working on their implementation of TIDAL connect integration, and as that was one of my requirements it just wasn't going to work. Another unfortunate issue is that as Balena Sound has grown, its demands on the hardware have become quite intense. My Pi Zero couldn't play Spotify streams for any reasonable length of time after some point last summer.
HiFiBerryOS was the clear winner here. It ticks all the boxes, it cost nothing, and it even runs on my Pi Zero W. Installation was very straightforward, and the setup was absolutely simple. The only difficulty was implementing TIDAL connect. As of today, TIDAL connect is not included in the HiFiBerryOS and needs to be installed from here: https://github.com/TonyTromp/tidal-connect-docker/
Even the TIDAL connect install was incredibly smooth with one caveat: while HiFiBerryOS only needs a 4GB SD card, installing the TIDAL connect docker container will fail with an SD card smaller than 16GB.
Putting it all together
Now comes the fun part. Putting it all together into a nice compact package.
Don't be fooled by the panel on the bottom of the speaker. The only way in is by prying the speaker grills off. Be careful here, the grill frames are made from 40-year-old pressboard.
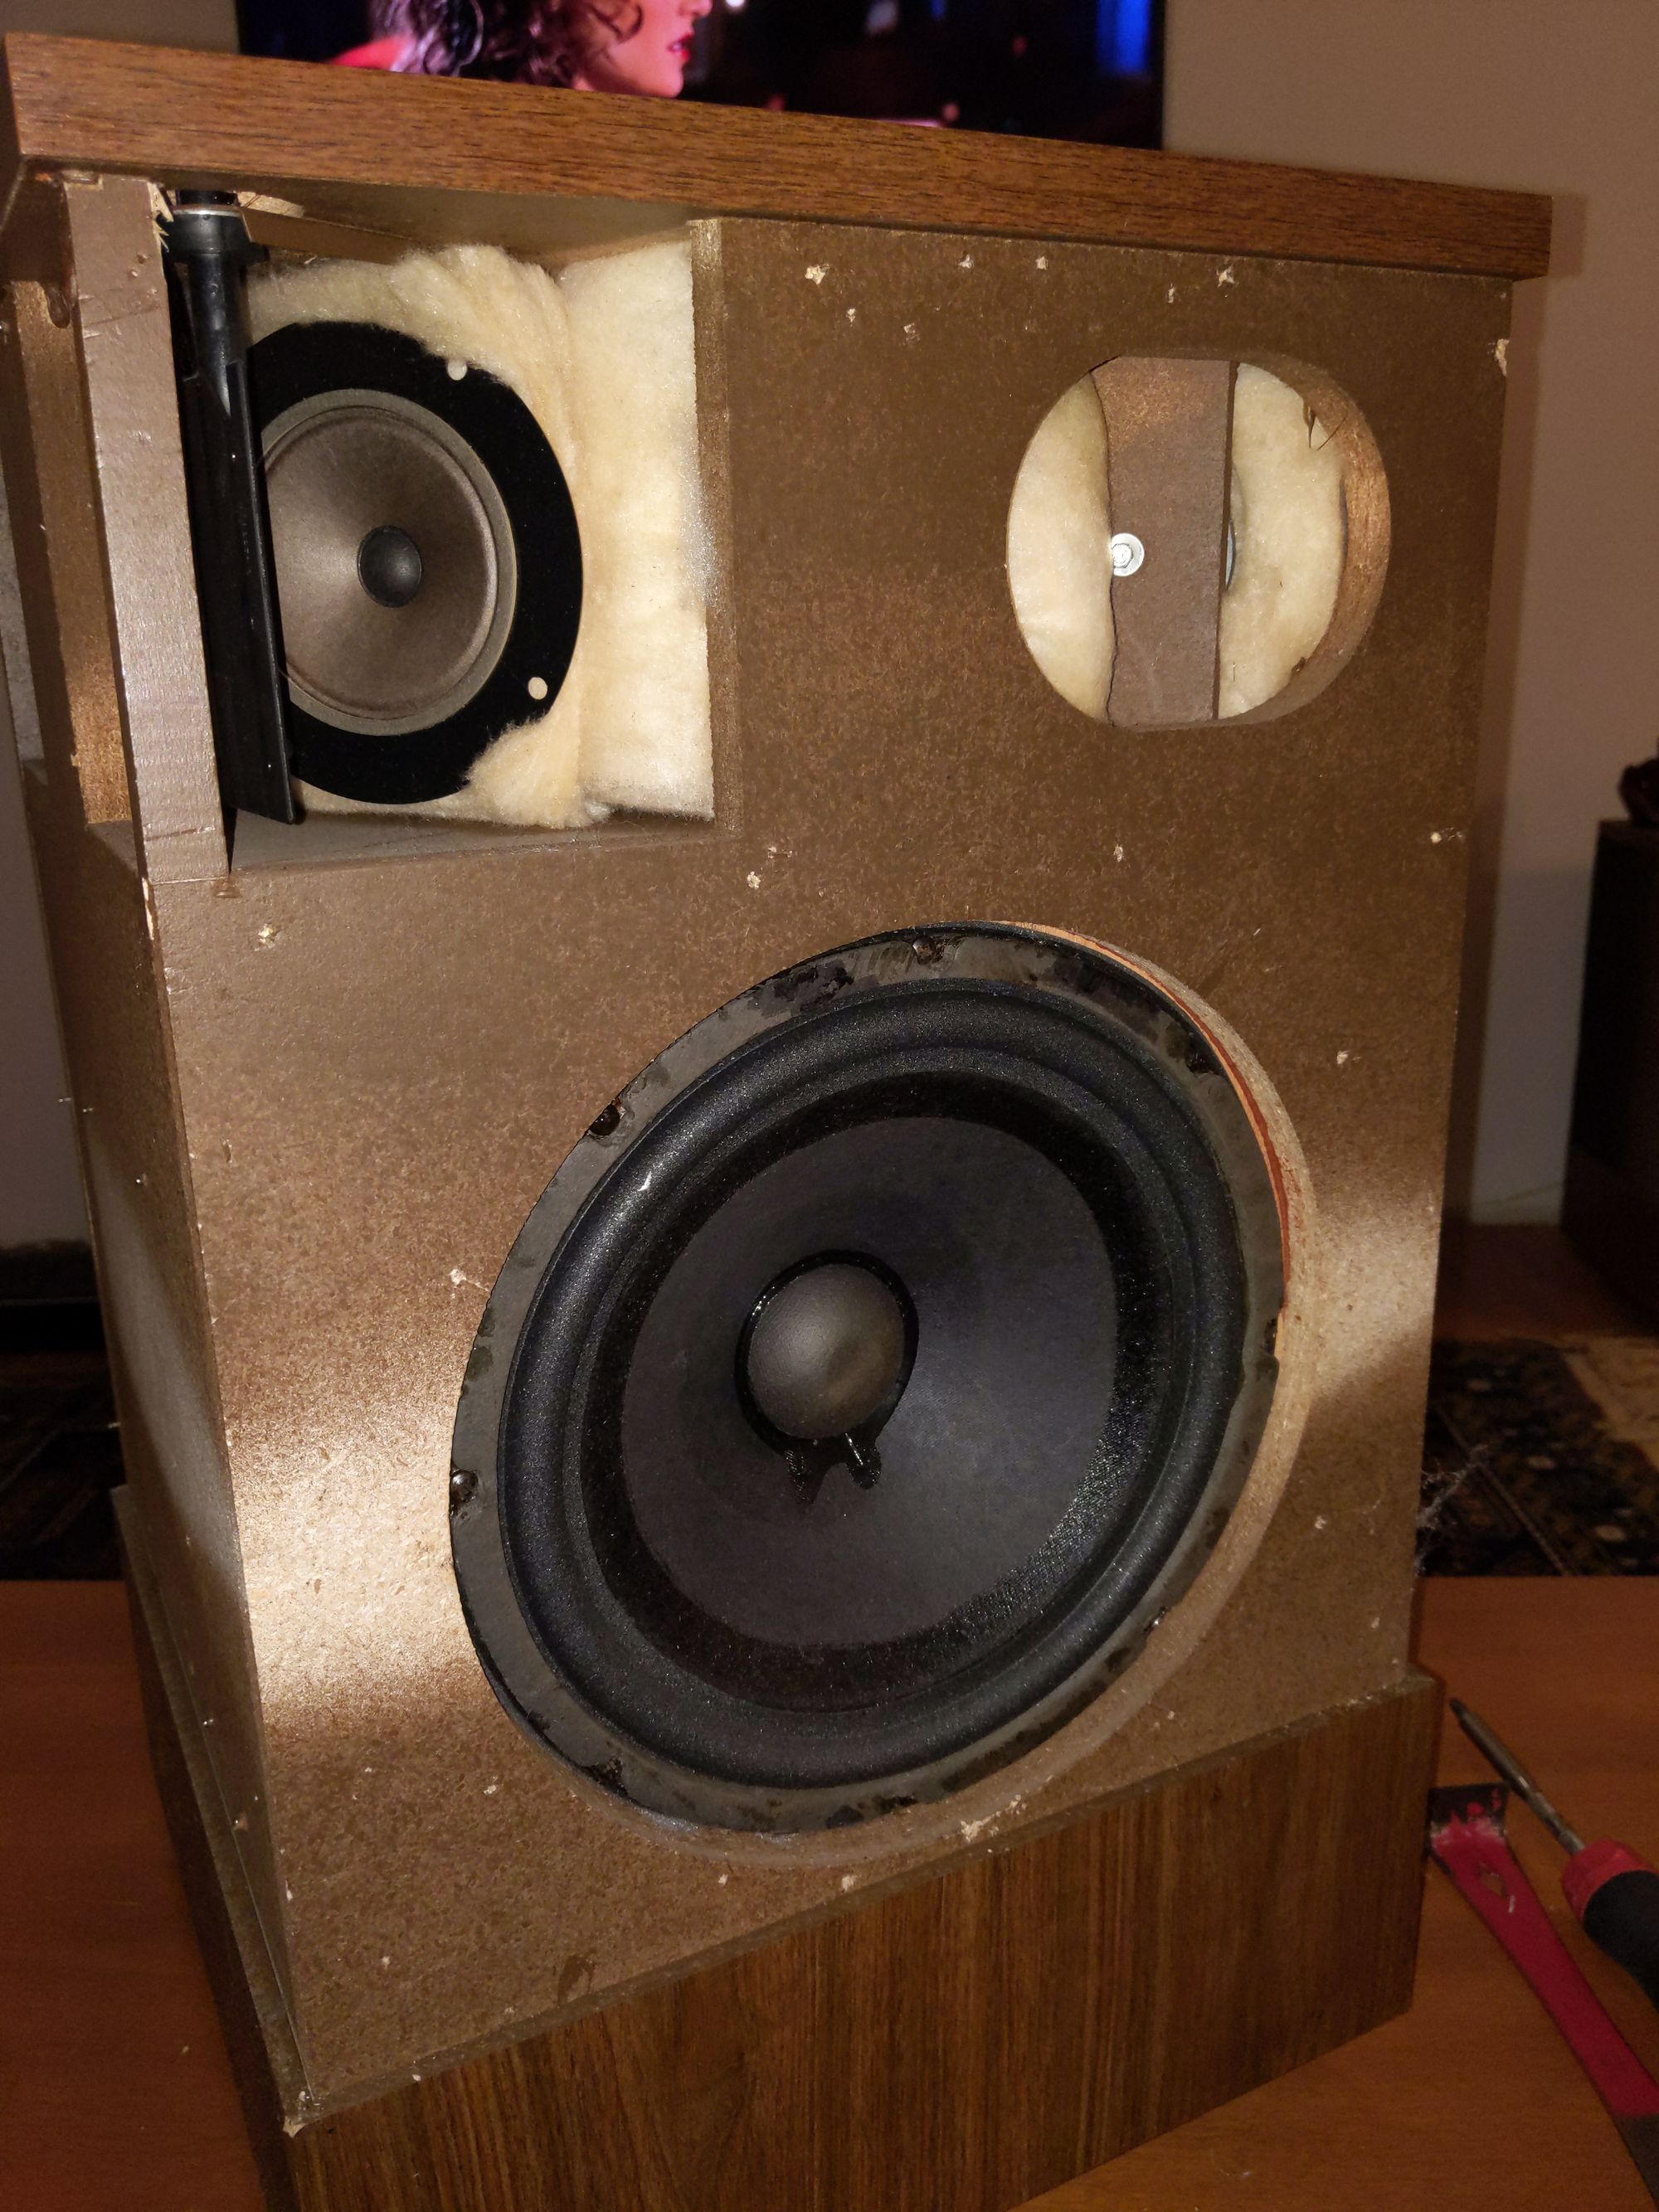
Now we get to marvel at the Bose design. You can see the adjustable reflector on the top left which allows you to control how much of the tweeter gets reflected off of your room's walls. This effectively widens or narrows the soundstage. There is also another tweeter in the upper right which is pointed back toward the wall.
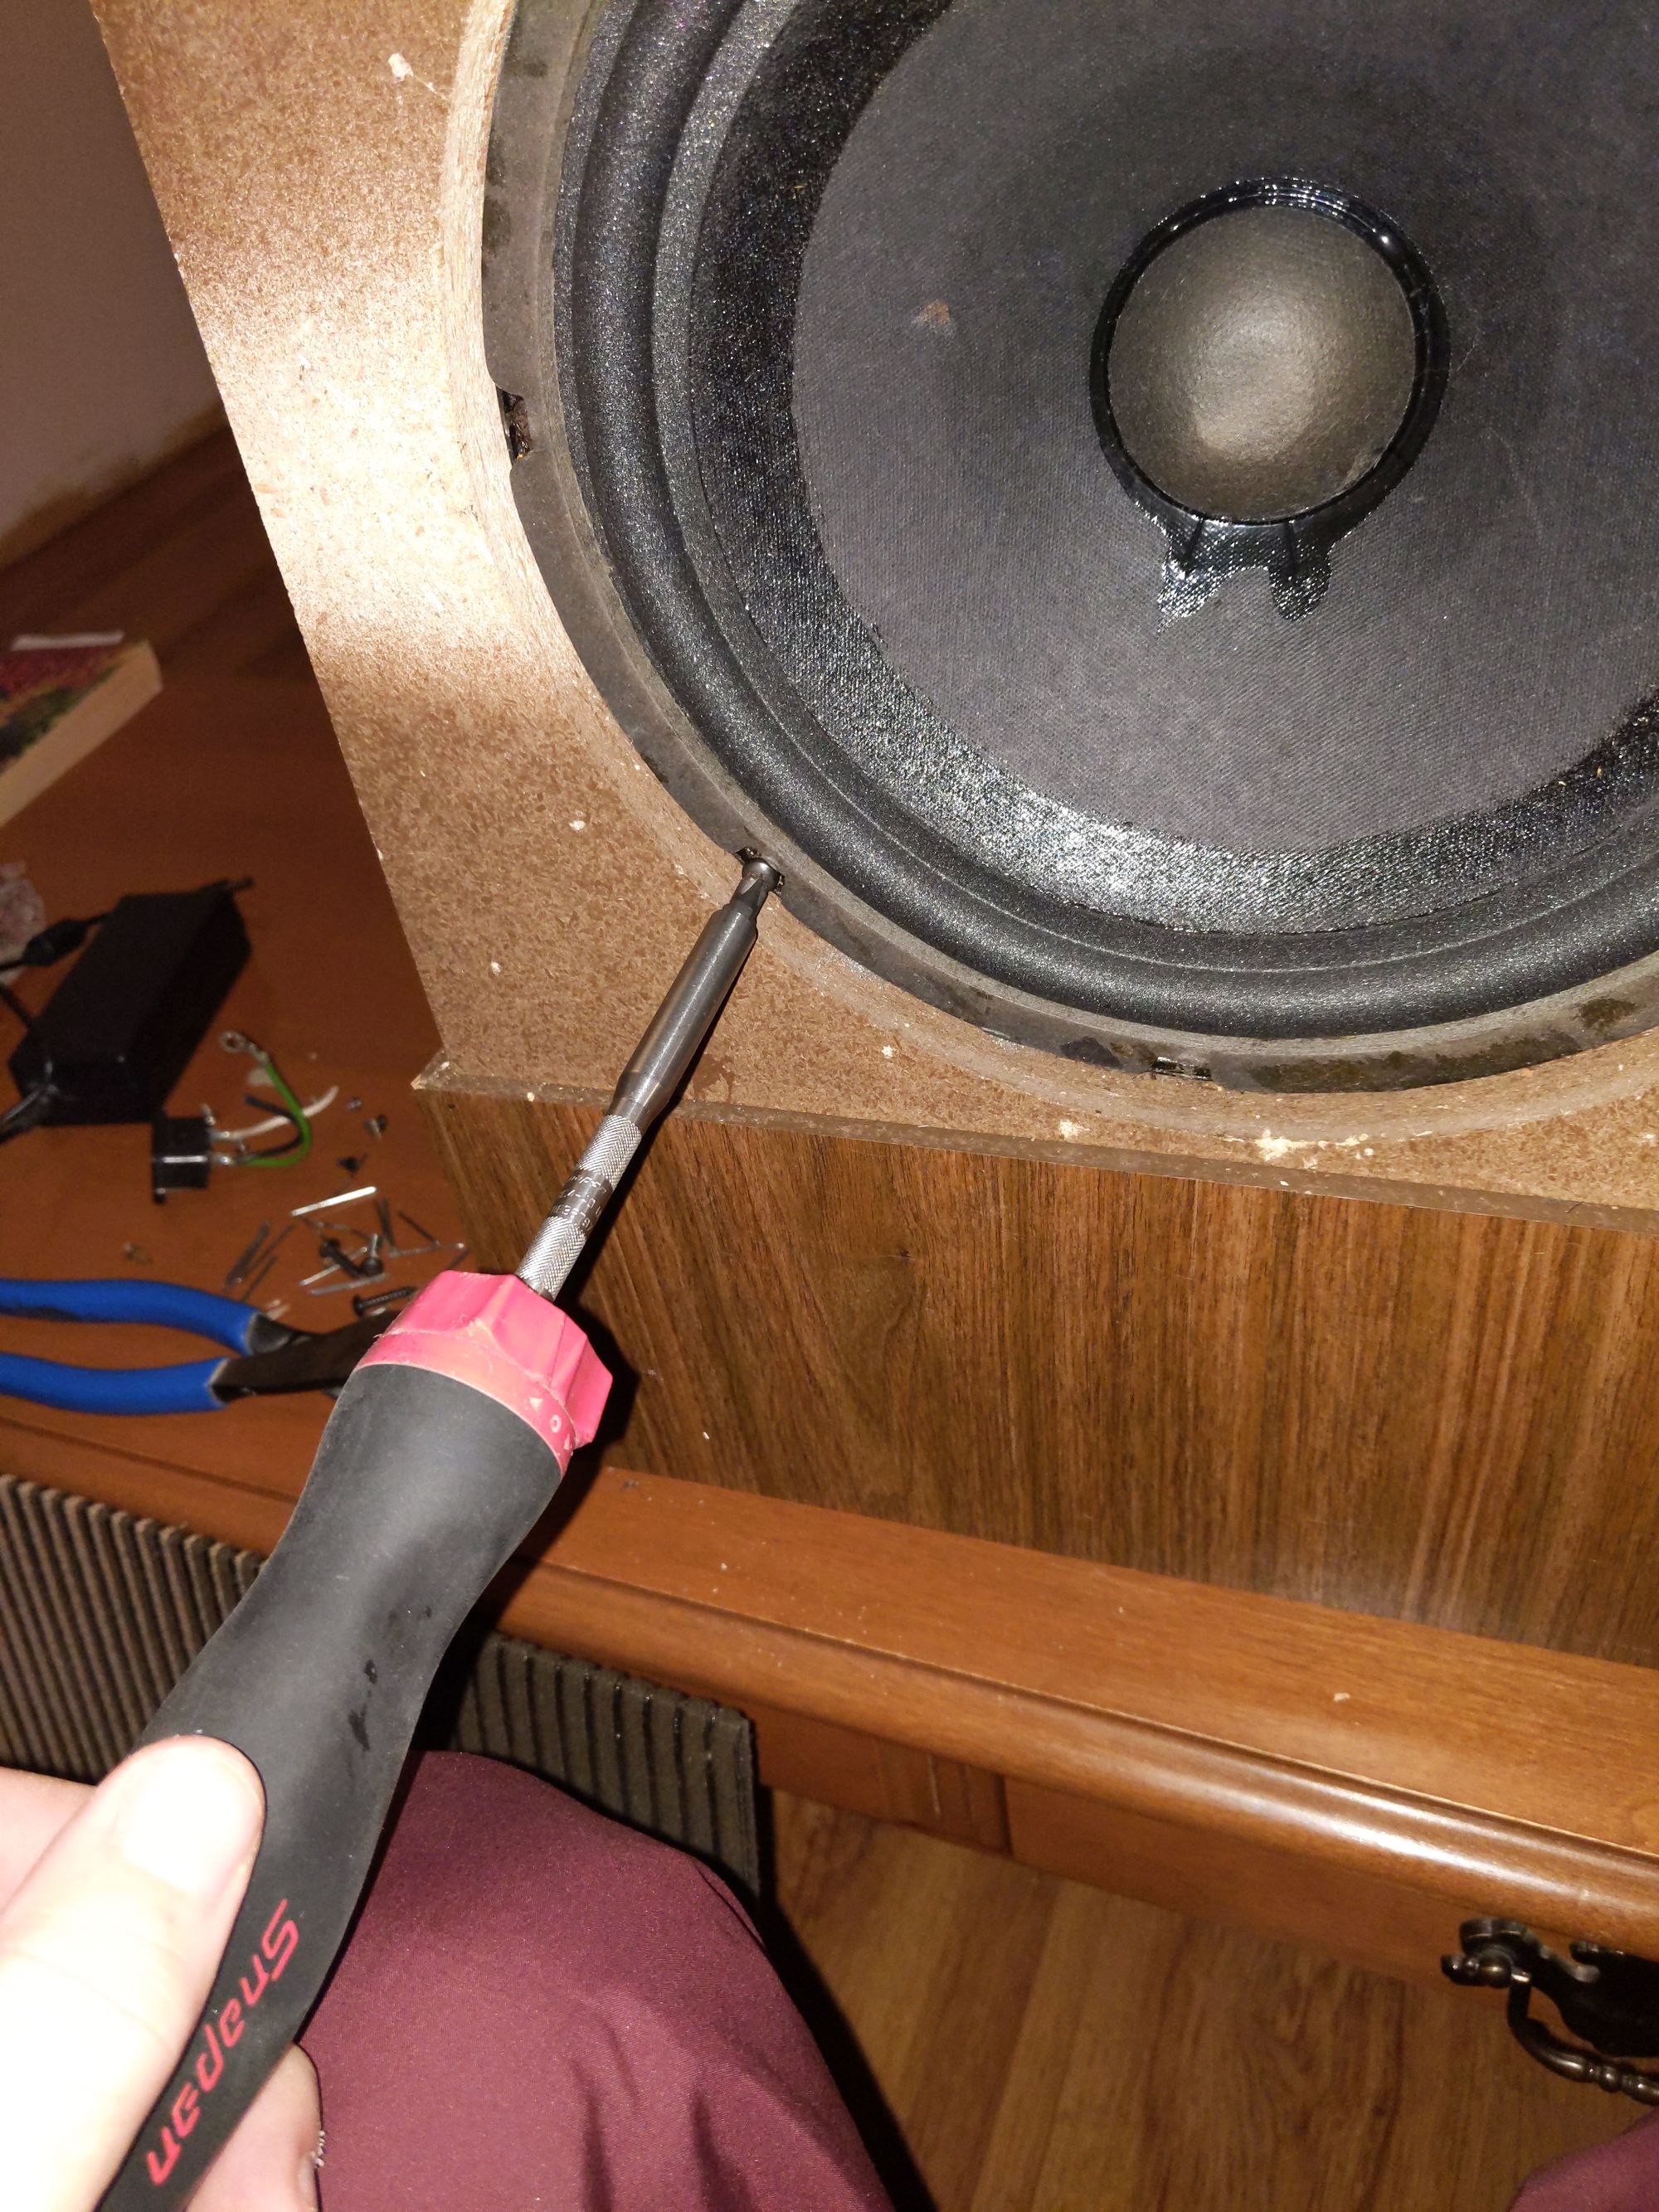
Now we just need to remove the woofer to access the inside of the cabinet. There is enough wire inside to move the woofers out of the way. My woofers are in decent shape, but they have been previously reconed.
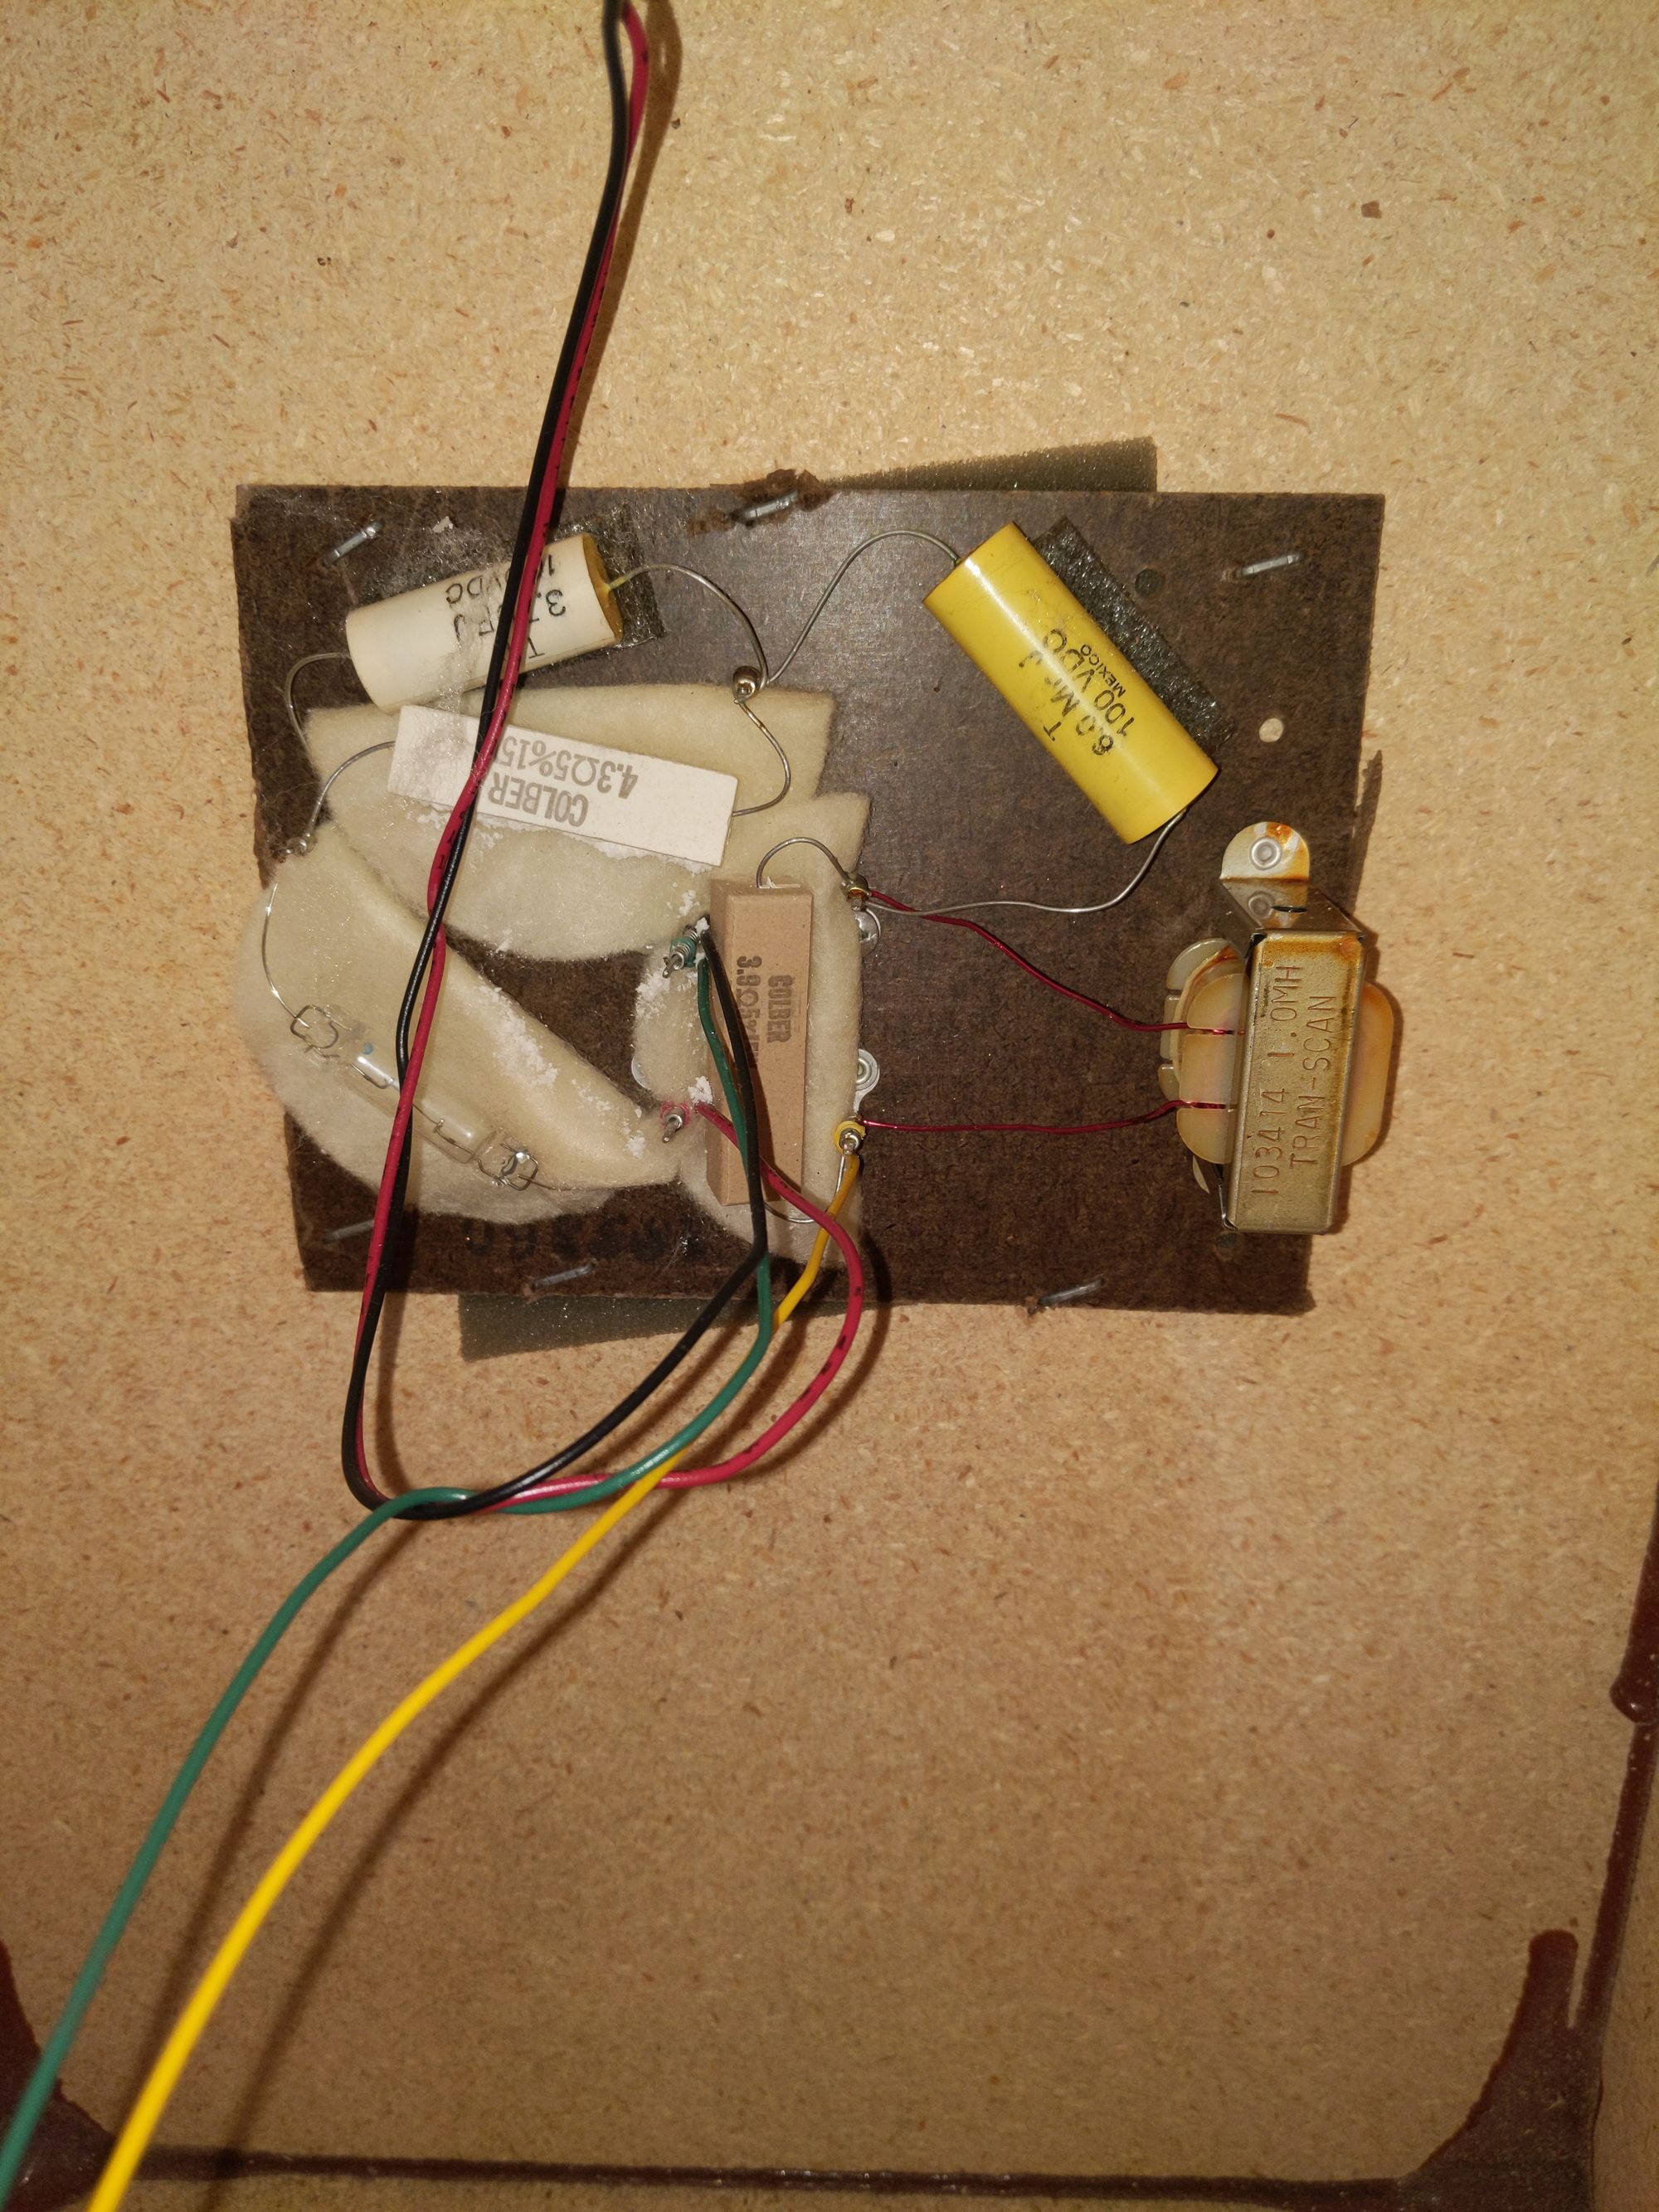
I have removed damping material from the cabinet already. You can now see the crossover which is mounted directly to the other side of the terminal plate. I'm going to remove this as well to make the rest of the installation a little easier.

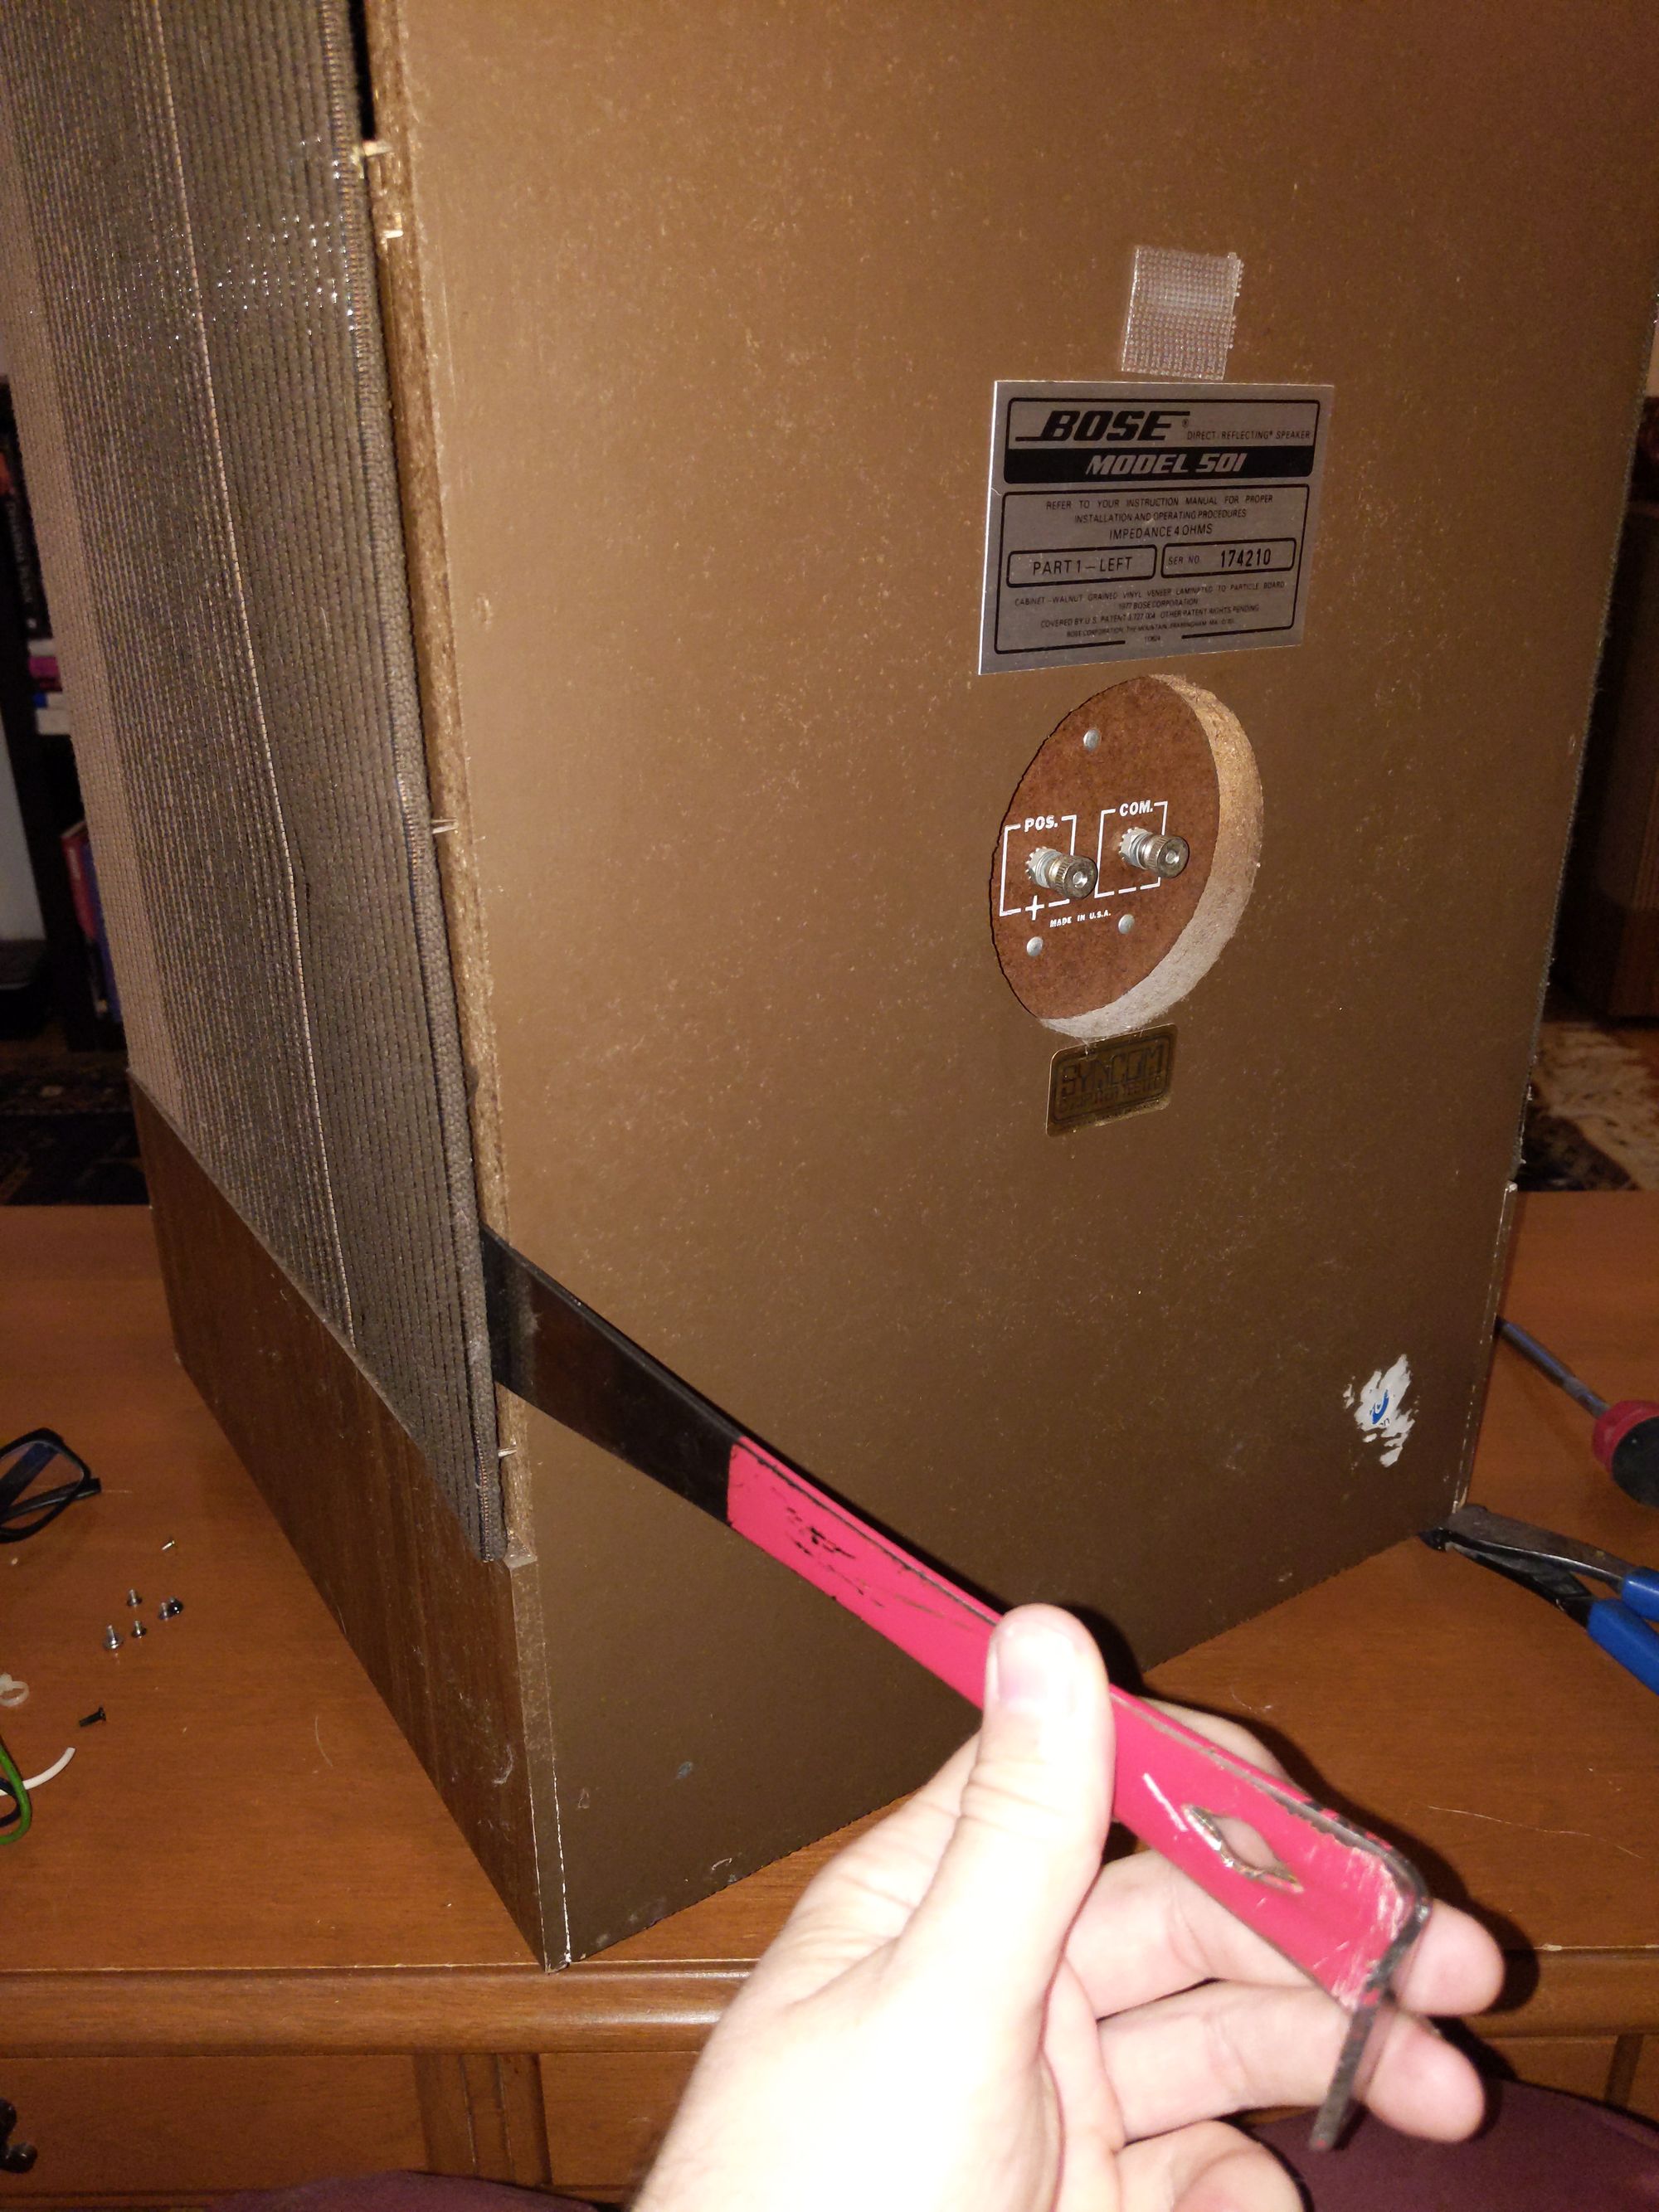
There were a couple of interesting surprises inside the cabinet. First, these cabinets were made just a few hours away from where I live by a company that eventually became Bose Canada. Second, if the date stamp is correct, these cabinets were made ten years before the first pair of 501s were ever sold.
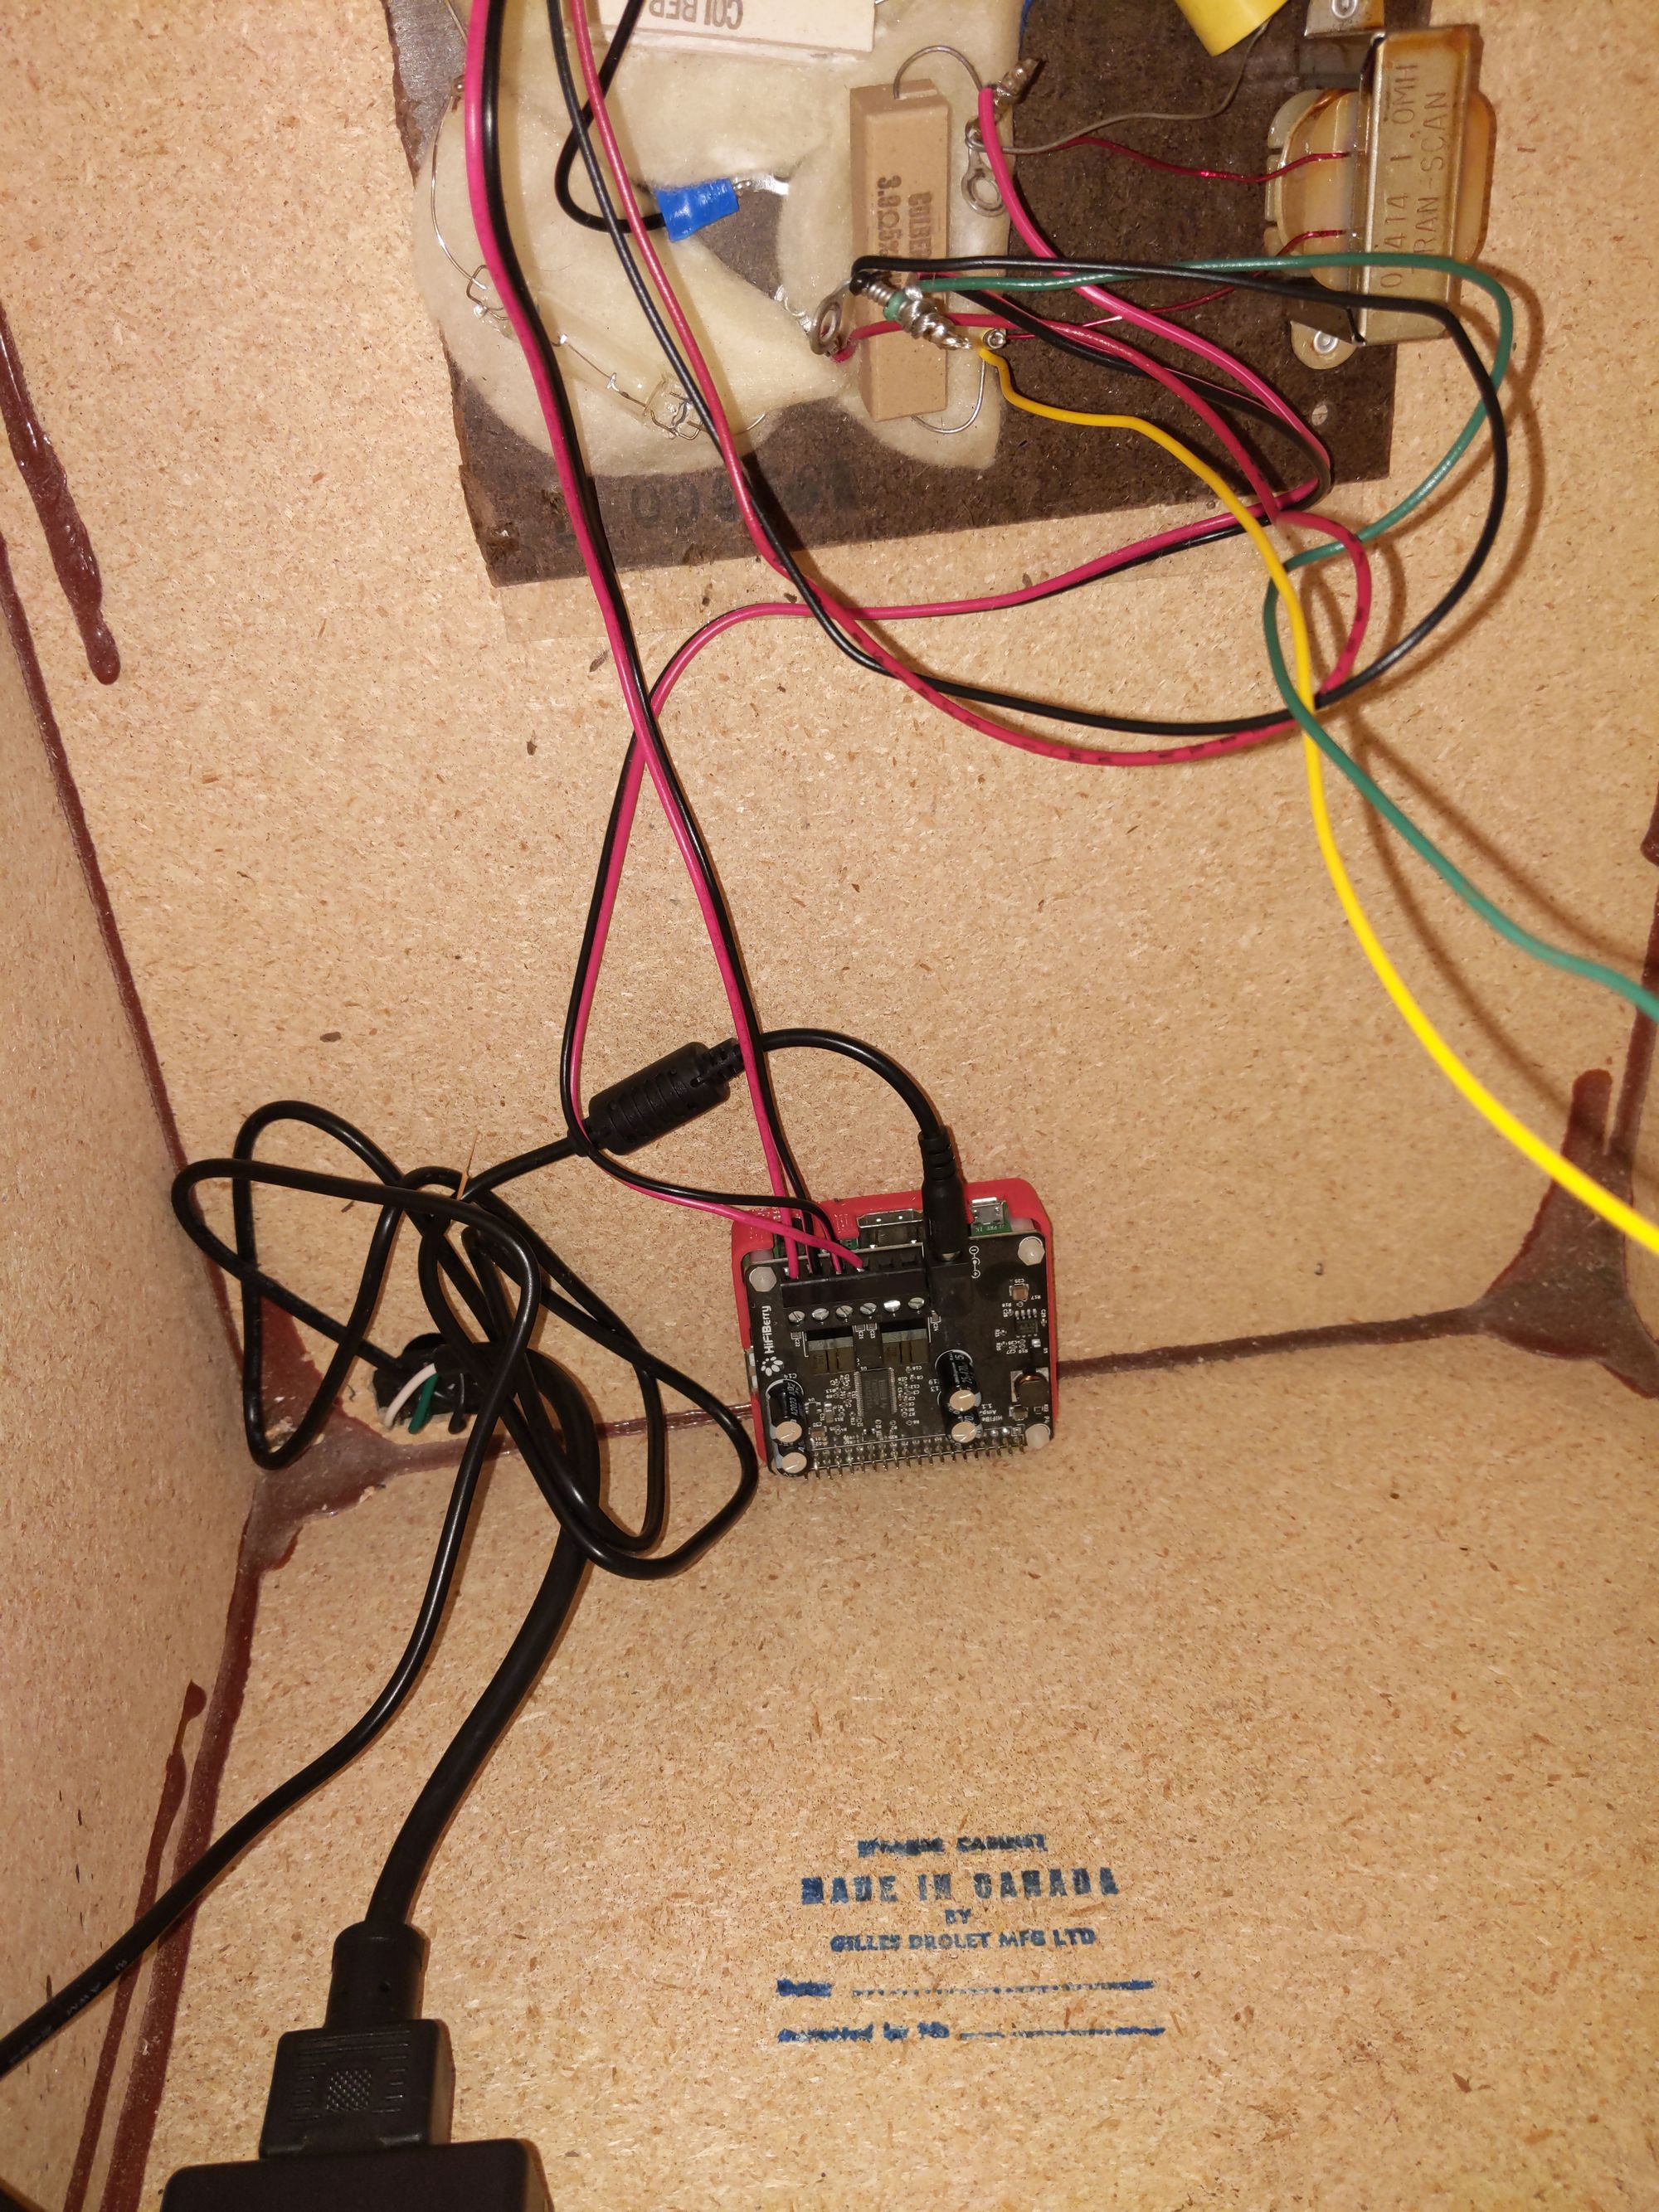
The crossover was disconnected from the binding posts and wired into the left speaker outputs of the Amp2. The right speaker outputs were then connected to the back of the binding posts. The Raspberry Pi and its power supply are attached to the inside of the speaker cabinet with high-strength velcro.
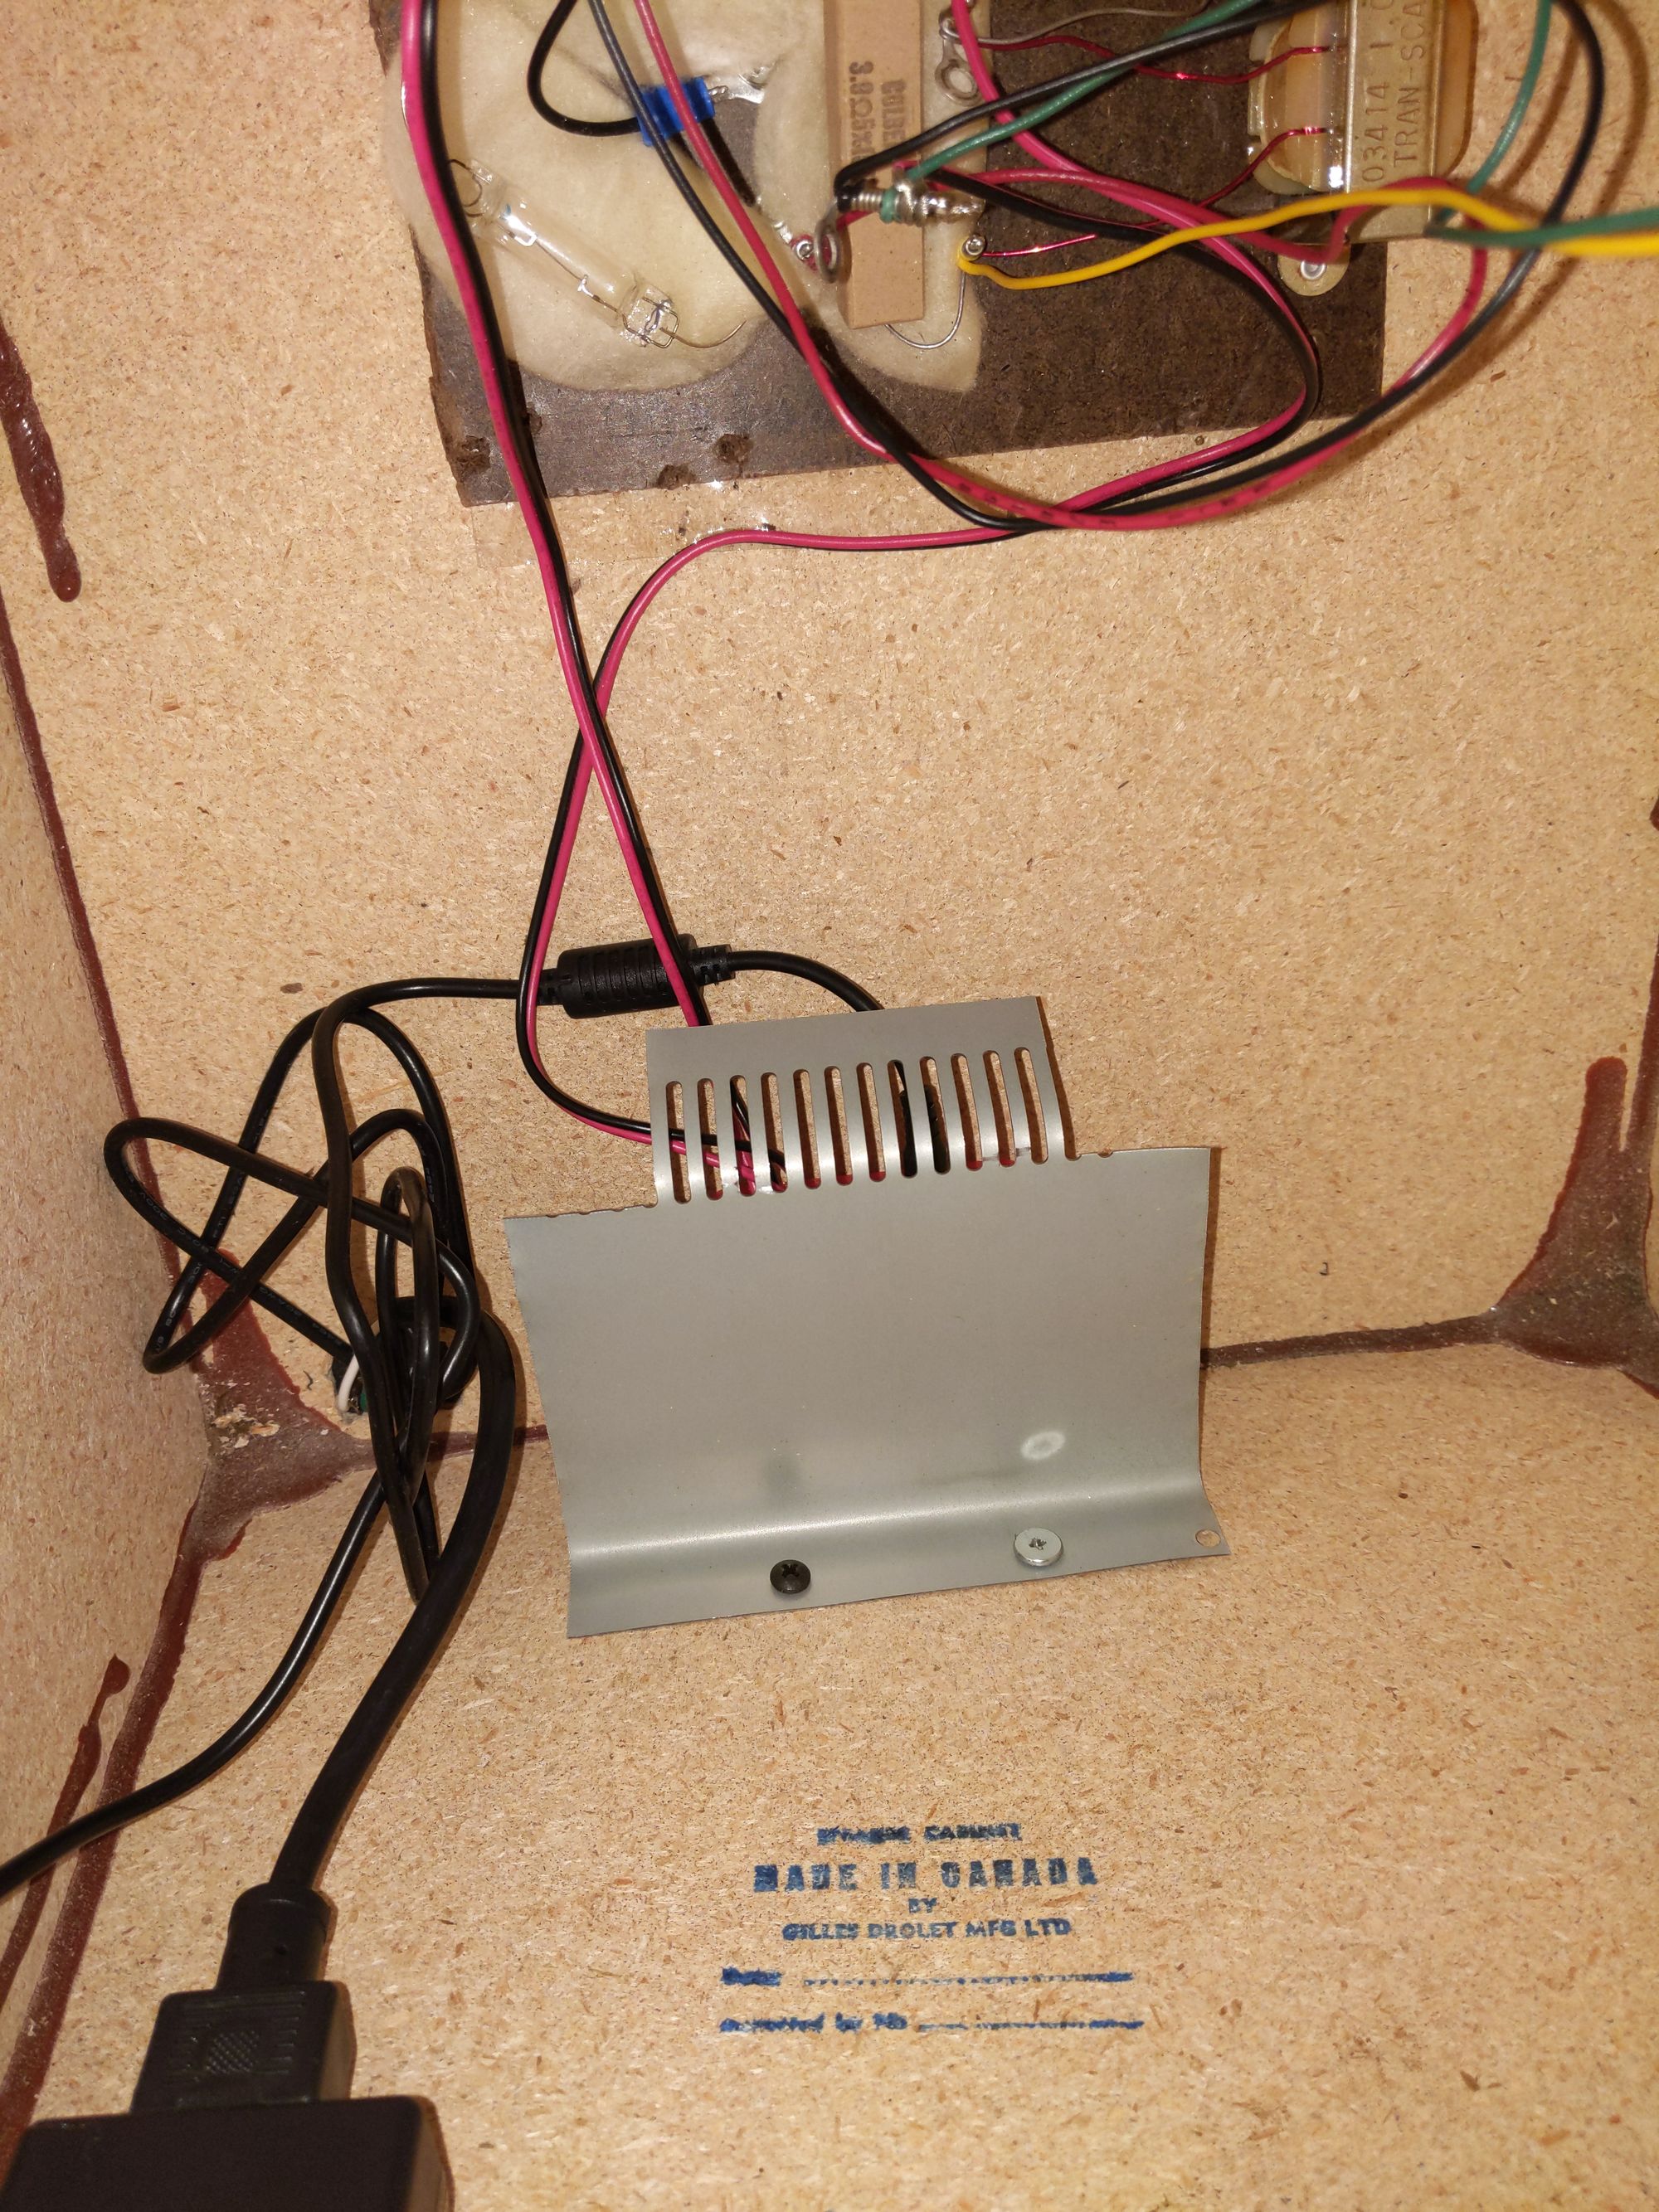
The Raspberry Pi is in a 3D printed case, but since the cover doesn't fit with the Amp2 attached I made a simple protective plate out of some scrap.

I installed a power socket in the back of the speaker (you can see it from the inside in the last two photos) for a nice clean look. I've never liked the look of external power supplies all over the place. Also, the socket is connected to a plug on the inside of the speaker in case I want to upgrade the power supply later.
So now the speaker has a power cord that runs to the wall and a speaker cable that attaches from the left speaker to the right speaker using the existing posts. It is a nice clean setup that works like a charm.
Bringing it into the 21st Century
So to make the speakers look as well as they now perform I decided a visual upgrade was necessary. First, I bought a roll of plain black speaker cloth. The original cloth was quite heavy and had the effect of damping the bass leading to a muffled character that many people have commented on. The new speaker cloth was much lighter and led to a much more lively bass sound.
The next step was to cover the wood veneer. Bose chose to use a vinyl veneer and not actual wood, so I chose to do the same. Luckily one of the better vinyl manufacturers, VViViD, is headquartered just up the road in Montreal. So I ordered myself a roll of VViViD+ Gloss White and got to work on the cabinets.
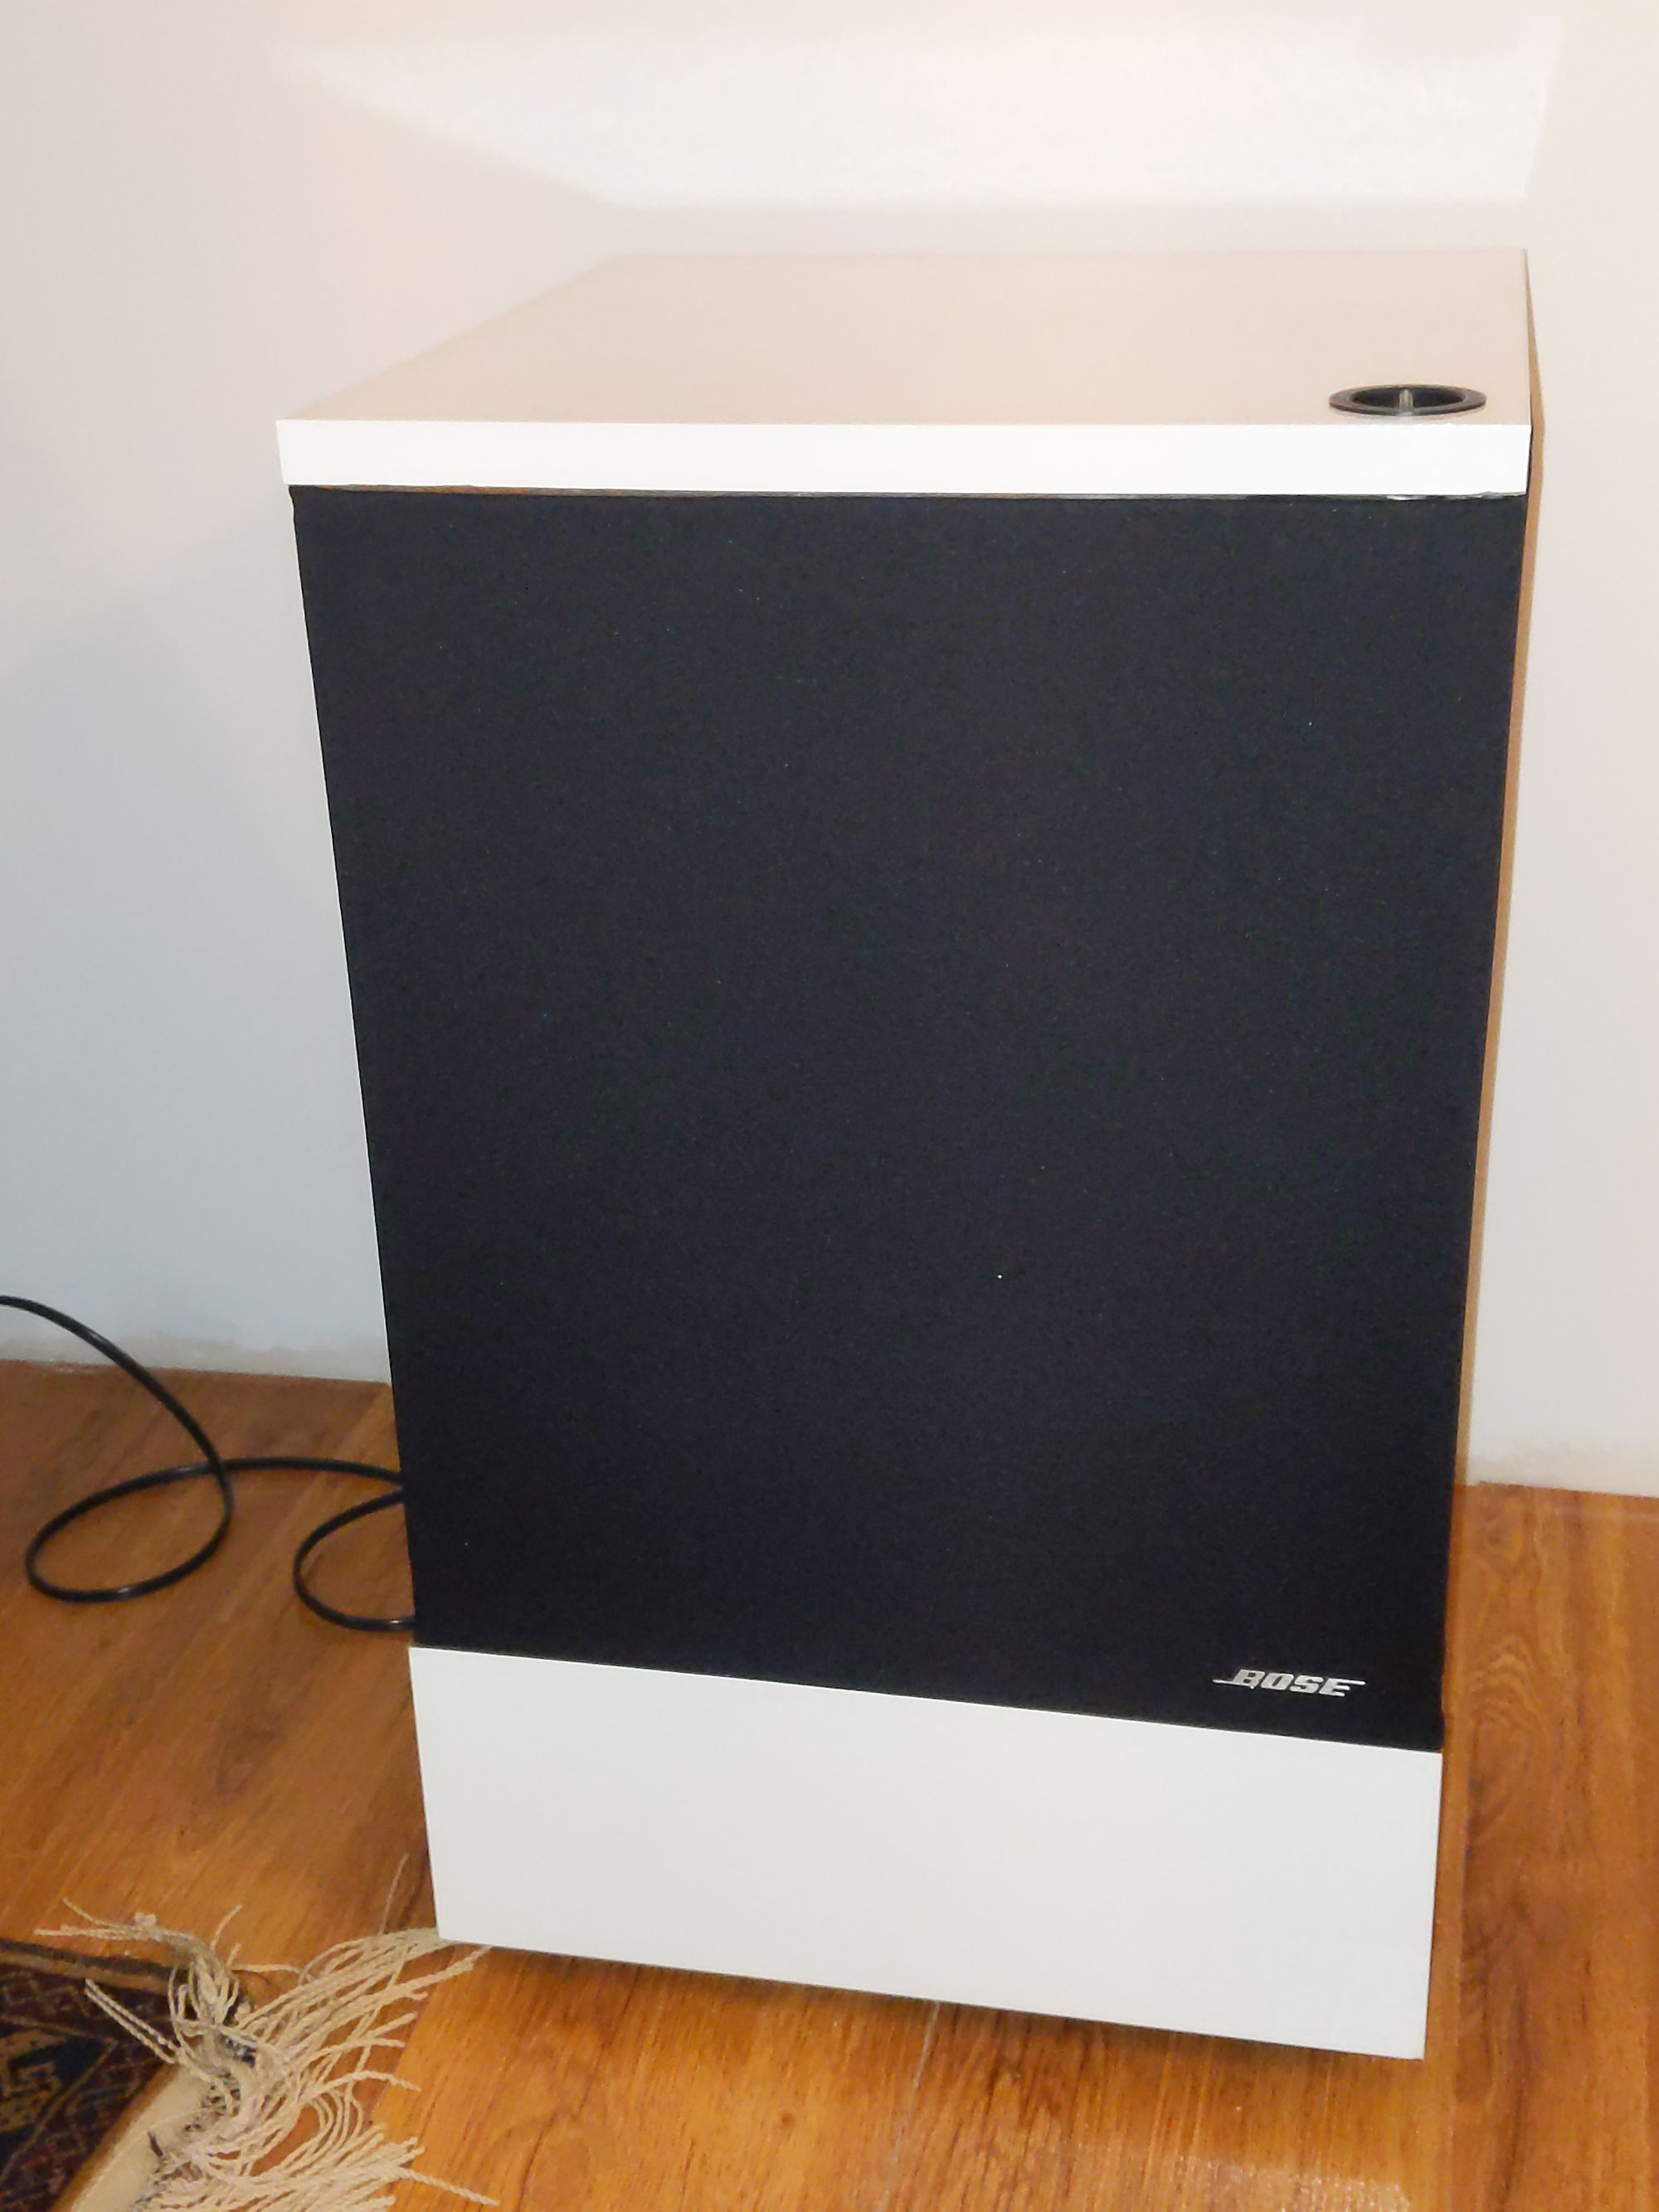
I feel the speakers now have a look that matches their function.